
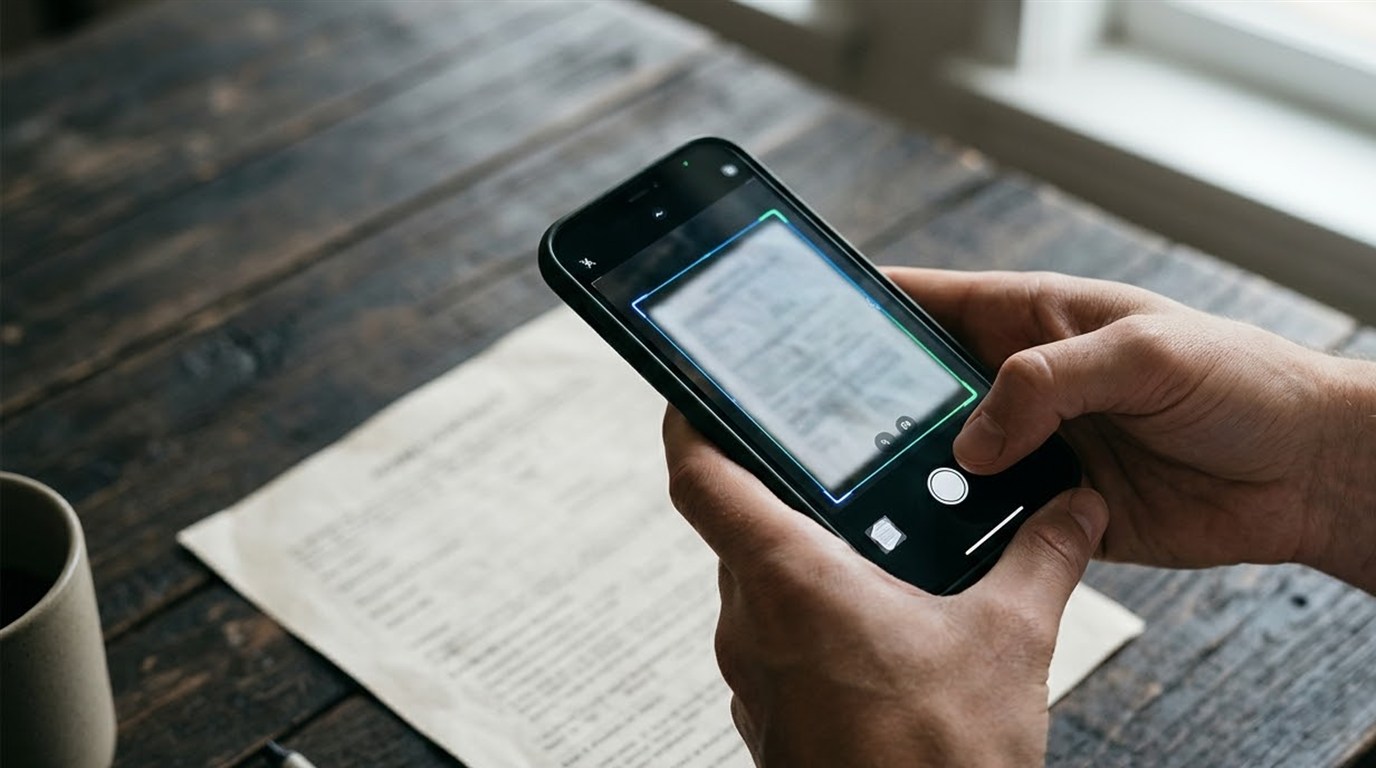
A landlord wants a signed form back today. Your doctor’s office asks for a copy of your insurance card. A receipt needs to go to your manager for reimbursement. A few years ago you would have needed a scanner. Today the scanner is already in your pocket, and the free tools built into your phone produce clean, sharp PDFs in seconds.
This guide explains how to scan documents with your phone on both iPhone and Android, step by step, using free apps you already have. You will also learn how to get professional-looking results, make scans searchable, name and store them so you can find them later and keep sensitive documents safe.
Quick answer
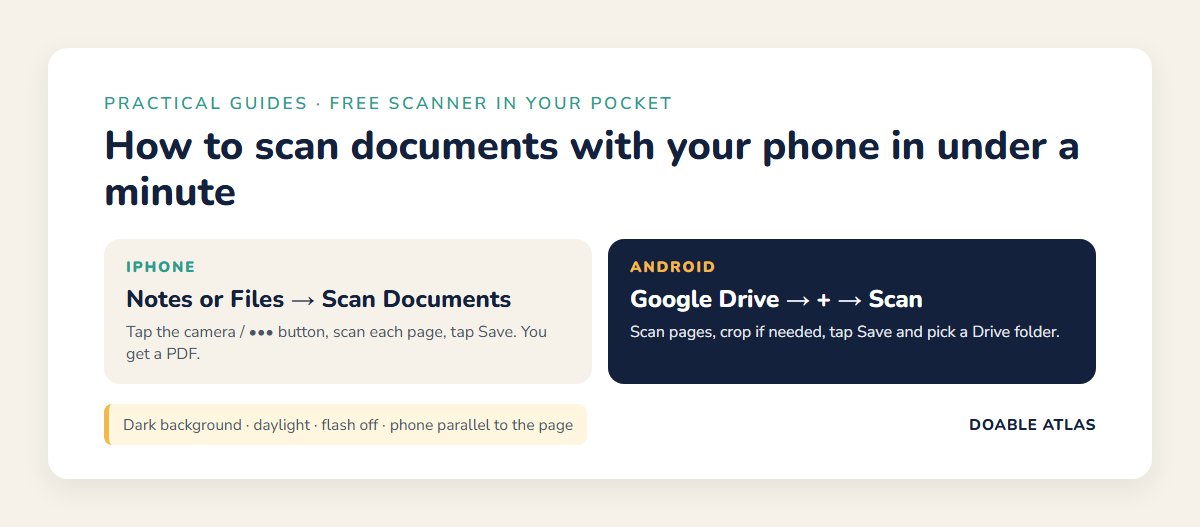
How to scan documents with your phone: on an iPhone, open the Notes app (or Files app), tap the camera or attachment icon and choose Scan Documents. On Android, open the Google Drive app, tap the plus or camera button and choose Scan. Place the document on a dark, flat surface in good light, let the app detect the edges, then save it as a PDF with a clear name in your cloud folder.
In this guide
Why scan with your phone instead of a scanner?
Modern phone cameras are sharp enough for nearly all everyday paperwork, and built-in scanning tools do more than take a photo. They:
- Detect the page edges and crop away the table and background.
- Straighten the page so it looks flat even if you held the phone at an angle.
- Boost contrast so text looks crisp, like a photocopy.
- Combine several pages into one PDF.
- Save directly to the cloud, ready to email or upload.
A flatbed scanner still wins for photos you want to preserve at high quality or for fragile documents, but for forms, receipts, letters and ID copies, your phone is faster and always with you.
How to scan documents with your phone on an iPhone
Apple includes a document scanner in two free apps: Notes and Files. Both produce PDFs (Apple Support).
Using the Notes app
- Open Notes and create a new note.
- Tap the attachment (paperclip) or camera icon and choose Scan Documents.
- Hold the phone over the page. In automatic mode it captures the page when it detects the edges; you can also tap the shutter button.
- Drag the corners to adjust the crop if needed (some iOS versions show a Keep Scan button here).
- Scan more pages, then tap Done or Save (the label depends on your iOS version). The pages are saved together as a PDF in the note.
- To share as a PDF, tap the scan, then the Share button.
Using the Files app
- Open Files and go to the folder where you want the scan, such as an iCloud Drive folder.
- Tap the More (three dots) button and choose Scan Documents.
- Scan your pages and tap Save. The PDF lands right in that folder.
- Long-press the file and choose Rename to give it a useful name.
The Files method is often better for paperwork because the PDF goes straight into your folder structure instead of living inside a note.
How to scan documents with your phone on Android
On most Android phones, the easiest free option is the Google Drive app, which includes a built-in scanner (Google Drive Help).
- Open the Google Drive app.
- Tap the plus (+) button or the camera/Scan button and choose Scan.
- Point the camera at the document. The app detects the edges and captures the page.
- Adjust the crop, rotate or apply a filter if needed.
- Tap the plus to add more pages, then Save.
- Name the file, choose a Drive folder and save. It is stored as a PDF.
Some Android phones also detect documents in the regular camera app and offer a scan option, and Samsung phones include a document scanning feature in the camera. The steps vary by model, so check your phone’s camera settings.
iPhone vs Android: which scanner should you use?
When people ask how to scan documents with your phone, the honest answer is: use whatever is already built in. Here is how the two main options compare.
| Feature | iPhone (Notes / Files) | Android (Google Drive) |
|---|---|---|
| Cost | Free, built in | Free app, usually preinstalled |
| Output | ||
| Saves to | A note or any Files folder (iCloud Drive, On My iPhone) | Any Google Drive folder |
| Multi-page | Yes | Yes |
| Best for | Quick scans you sign with Markup | Scans you share from Drive |
How to scan documents with your phone for specific jobs
Receipts
Receipts fade, especially thermal paper ones. Scan them the day you get them, use black and white mode for small, sharp text and save them in a “Receipts” folder by month. For expense reports, keep one PDF per receipt so each one can be attached separately.
ID cards and insurance cards
Scan both sides into a single PDF. Cards are small, so move the phone closer and let the app detect the edges, or crop manually. Store them in a secured folder, and remember that some places will still ask to see the physical card.
Multi-page contracts and forms
Scan pages in order without stopping, then check the page count before saving. If a page is missing, you can usually add it before you tap Save. Name the file with the date and the other party, for example “2026-11-15_lease_main-street.pdf.”
Kids’ school papers and artwork
Use color mode for drawings and keep a yearly folder per child. Many families scan the artwork, keep a few favorite originals and recycle the rest without guilt.
Handwritten notes
Whiteboard notes and notebook pages scan well with the grayscale filter. If you want the text searchable, use an app with handwriting recognition, or type a short summary into a note app alongside the scan.
Other free scanning apps
The built-in tools are enough for most people, but a few free apps add extra features:
| App | Platforms | Good for |
|---|---|---|
| Apple Notes / Files | iPhone, iPad | Quick PDFs, saving to iCloud Drive |
| Google Drive | Android | Scanning straight into Drive folders |
| OneDrive app | iPhone, Android | Scanning into OneDrive if you use Microsoft 365 |
| Adobe Scan | iPhone, Android | Text recognition (OCR), receipts, business cards |
Be cautious with unknown scanner apps that ask for lots of permissions or push subscriptions. A scanner handles your most private papers, so stick to well-known apps from trusted developers.
How to scan documents with your phone like a pro
Knowing how to scan documents with your phone is easy; getting crisp, readable results takes a few habits:
- Use good, even light. Daylight near a window is ideal. Avoid harsh overhead lights that cause glare.
- Turn off the flash unless the room is very dark; it often creates a bright spot.
- Use a dark, plain background. A white page on a dark table makes edge detection work best.
- Flatten the page. Smooth out folds, and place a heavy book on curled corners just outside the frame.
- Hold the phone parallel to the page, directly above it, to avoid distortion.
- Avoid your own shadow. Stand so the light comes from the side.
- Check every page before saving. Zoom in to make sure small print is readable.
- Clean your camera lens with a soft cloth. A fingerprint smudge blurs everything.
Choosing the right filter
- Black and white / grayscale: best for text documents and forms; smaller files.
- Color: for documents with colored stamps, signatures in blue ink or photos.
- Photo / original: for pictures, drawings and anything where accurate color matters.
Make your scans searchable with text recognition
A plain scan is just an image of text. Optical character recognition (OCR) turns it into text that you can search, copy and paste.
- iPhone: Live Text can recognize text in images and scans on supported models, and Notes can search the text in scanned documents.
- Google Drive: Drive can search for text inside PDFs and images you upload, and you can open a PDF with Google Docs to convert it to editable text.
- Adobe Scan: applies text recognition automatically to scans.
Searchable scans are a big part of how to organize digital files well; our guide on how to organize digital files explains the folder and naming system that pairs with this.
Name and store your scans so you can find them
The most common scanning mistake happens after the scan: saving it as “Scanned Document 14.” Use a consistent naming pattern with the date first:
2026-11-15_car-insurance_card.pdf
- Save to a synced cloud folder such as iCloud Drive, Google Drive or OneDrive, not just your phone’s local storage.
- Put scans in the right topic folder straight away: Money, Home, Health and so on.
- Keep one PDF per document, with all its pages together.
- Back up important scans separately. See our guide on how to back up your phone.
What to scan: a starter list
Passport and driver’s license (both sides), birth certificate.
Tax forms, important receipts, warranties, loan papers.
Insurance cards, vaccination records, prescriptions.
Lease, school forms, kids’ artwork you want to keep.
Scanning receipts and warranties as you get them means you never dig through a drawer when something breaks or when tax time arrives.
How to scan documents with your phone safely
Scans of IDs, tax forms and medical records are exactly what identity thieves want. Protect them:
- Secure your cloud account with a strong passphrase and two-step verification. Our guide on how to create strong passwords walks through it.
- Lock your phone with a passcode or biometrics.
- Do not email sensitive scans casually. Use a secure upload portal when one is offered, or share a link with limited access.
- Delete copies from Downloads and messaging apps after you have sent them.
- Know when a scan is not enough: some legal, government or financial processes require originals or certified copies. Check before you rely on a scan.
The US Federal Trade Commission has more advice on protecting personal information (FTC).
Signing and filling forms after scanning
Often you scan a form because you need to sign it and send it back. You can frequently skip the printer entirely:
- iPhone: open the PDF in Files, tap the markup (pen) icon and add a signature or text.
- Android: open the PDF in a PDF app that supports annotations, such as Adobe Acrobat Reader, and use fill-and-sign tools.
- Check requirements: some organizations accept electronic signatures; others require a wet signature on paper.
Common problems when you scan documents with your phone
| Problem | Likely cause | Fix |
|---|---|---|
| Edges not detected | Light page on light background | Use a dark surface; adjust corners manually |
| Blurry text | Movement or dirty lens | Clean the lens; rest elbows on the table |
| Glare or bright spot | Flash or overhead light | Turn off flash; move near a window |
| Page looks curved | Folded or bound page | Flatten it; hold the phone directly above |
| File too large to email | Color, many pages | Use black and white; share a cloud link |
Myths vs facts
A 10-minute paper purge using your phone
Once you know how to scan documents with your phone, you can tackle a paper pile in short bursts:
- Grab one stack of papers, not the whole drawer.
- Sort into three piles: scan and shred, scan and keep the original, and recycle.
- Scan the first two piles straight into the right cloud folders with clear names.
- Shred anything with personal details that you no longer need in paper form.
- Repeat once a week until the backlog is gone.
Fit the session into your weekly routine; our guide on how to plan your week shows how to give small jobs like this a fixed slot.
Can you scan old photos with your phone?
Yes, though photos need a little more care than paper documents. Document scanners boost contrast for text, which can make photos look harsh, so use the color or original filter. Google also offers a free app called PhotoScan that takes several shots of a print and combines them to reduce glare (Google PhotoScan). For precious family photos you plan to print large, a flatbed scanner or a professional scanning service still gives the best quality.
- Remove photos from sticky albums or plastic sleeves if you can do so safely; plastic causes glare.
- Scan in soft daylight with the phone held directly above the print.
- Name files with the year and the people or place, for example “1994_grandma-garden.jpg.”
- Back up the scans in two places, because these are often the only digital copies.
Make scanning a habit
The real benefit of knowing how to scan documents with your phone comes from doing it consistently. Three small habits keep paper from piling up again:
- Scan on arrival: when an important letter or receipt arrives, scan it before it hits the counter.
- Name it immediately: a good name takes ten seconds now and saves minutes later.
- Review monthly: delete scans you no longer need and check that important ones are backed up.
Once you know how to scan documents with your phone, the junk drawer of papers stops growing, and every important record is a quick search away.
Frequently asked questions
What is the easiest way to scan documents with my phone?
On an iPhone, use Scan Documents in the Notes or Files app. On Android, use the Scan option in the Google Drive app. Both are free and save PDFs.
Are phone scans good enough for official documents?
For most everyday uses, such as sending forms, receipts or ID copies, yes. Some legal, government or financial processes require originals, certified copies or specific formats, so always check the requirements.
How do I scan multiple pages into one PDF?
Keep scanning before you tap Save. Both the iPhone scanner and Google Drive add each new page to the same document.
How do I make a scanned document searchable?
Use a tool with text recognition (OCR). Adobe Scan applies it automatically, Google Drive can search text in uploaded PDFs, and iPhone Notes can search text inside scans.
Where should I save scanned documents?
Save them to a synced cloud folder organized by topic, with a date-first file name, and keep a separate backup of important records.
Is it safe to scan my ID with my phone?
It can be, if you use a trusted app, store the scan in a secured account with two-step verification and avoid sending it by regular email unless necessary.
The takeaway
Learning how to scan documents with your phone takes about five minutes, and it can save hours of searching, printing and trips to a copy shop. Use the free scanner built into your phone, follow a few lighting and framing habits, name every file clearly and store it in a secure, backed-up folder.
Try it right now with one document you might need soon, such as your insurance card. Scan both sides, name the file and save it in your cloud folder. The next time someone asks for a copy, it will take you ten seconds.